- Specifications
- Where to get one
- What's in the box
- Requirements
- Installation (non-hardwired)
- Sample footage (day and night)
SpecificationsI believe I got the Yi Compact Dash Camera 'cos that's what the Shopee store says haha, I know there's like a Yi Smart Dash Camera too with ADAS (Advanced Driver Assistance System) and 60fps recording, but I didn't get the Smart one so don't get confused! Here are the specs:
- 130° ultra wide-angle lens
- 1080p 30fps high speed recording
- Emergency Recording
- 2.7" LCD screen
- Built-in wifi
- Built-in microphone
- Dimensions: L-74mm, W-19.4mm/32mm, H-52.4mm
Where to get one?I got mine from this store at Shopee. Wait for a SALE. It usually costs ₱2,500 to ₱2,999 but during the time I bought it, it was down to ₱1,799 so I took it right away. It comes with free shipping and some more discounts pa so I got 100 off on my final bill. SULIT!
I was actually looking for sellers who could install na rin cos girl I'm too dumb to install this on my own. I want it hardwired but seeing that my car's electronic warranty is still active, I can't afford to touch the fusebox. Given that, I decided to just get a bare unit and get a stab and installing this on my own. #StrongIndependentLadyDriver
What's in the box?
There's the unit, a long ass USB cord, adhesive 3m mount, a USB car charger, and the manual. Basic. Would've bought a suction cup mount instead but according to the reviews, if you're not gonna move the thing frequently you could just settle for the permanent adhesive mount.
Requirements
Nothing much, just a Class 10 microSD card with FAT32 format that's at least 16GB. In the official Yi website, recommended storage is 8GB to 64GB. But in my experience, 1 minute of footage is already around 100MB so 8GB is only good for some 80mins of driving. Not a lot, unless you constantly backup.
Installation (non-hardwire)
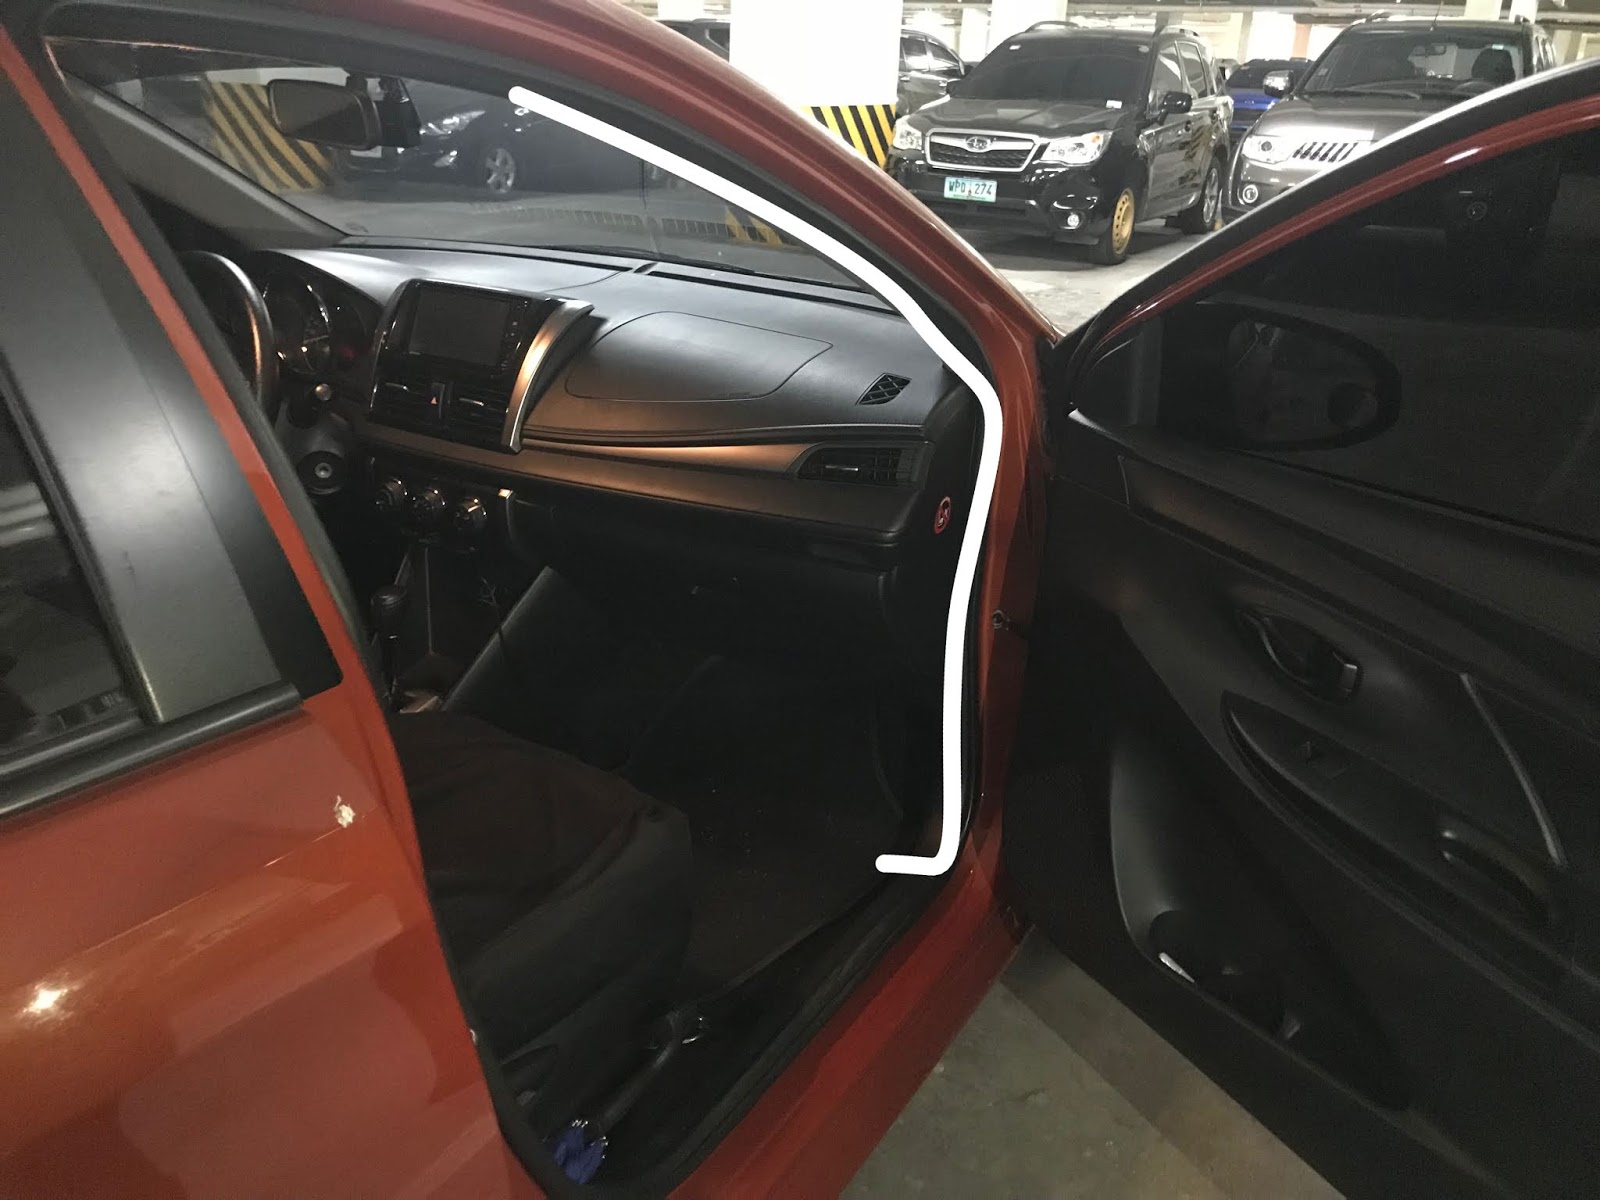
I watched countless Youtube videos to get this thing right and thankfully, I got it faaam! The wires are hidden, but I'm still not completely satisfied. For now I got the wire routed into the headliner, passing by the edge of the pillar, into the weatherstrip, underneath the floor matting, and finally up on the USB charging port.
In pictures I'll try to show you a step by step of how I did it.
Step one: Position your dashcam
To help you find the right spot, connect it to your phone so you get a live view of the peripheral of the dashcam. I stuck mine next to the base of the rearview mirror. I'm aware it's sticking right on the tint so I'm never changing that lol. I also don't know what the ideal view is for a dashcam but for some reason I don't like footages that show the hood of the car, for uhm, aesthetic purposes. You know, I'm kinda in it for the view so I don't want any obstructive thing in my dashcam's peripheral. I feel silly but hahaha please let me be.
Step two: Tuck the wire in
And to help you with pushing the wires in place, use a plastic card.
The headliner is where the windshield meets the roof of your car. If you push it with your fingers you'll feel there's a space inside where you can tuck the wires in.
Follow the white line
After passing by the headliner, you gotta push the wire into the edge of the pillar. In other methods, they remove the pillar and hide the wire inside, but I got no tools for that and I'm afraid I might break something so I just hid it on the top edge, and tuck the rest of the wire into the weatherstrip.
The weatherstrip is this long strip of black rubber attached on the edges of the vehicle's frame. Using a plastic card, help yourself tuck the wires in. Gosh we're so near the charging port!
The floor area is where it got a bit challenging for me. I wanted to get the wire inside the compartment but I don't know where to pass it so for now I settled with hiding the wire underneath the floor matting.
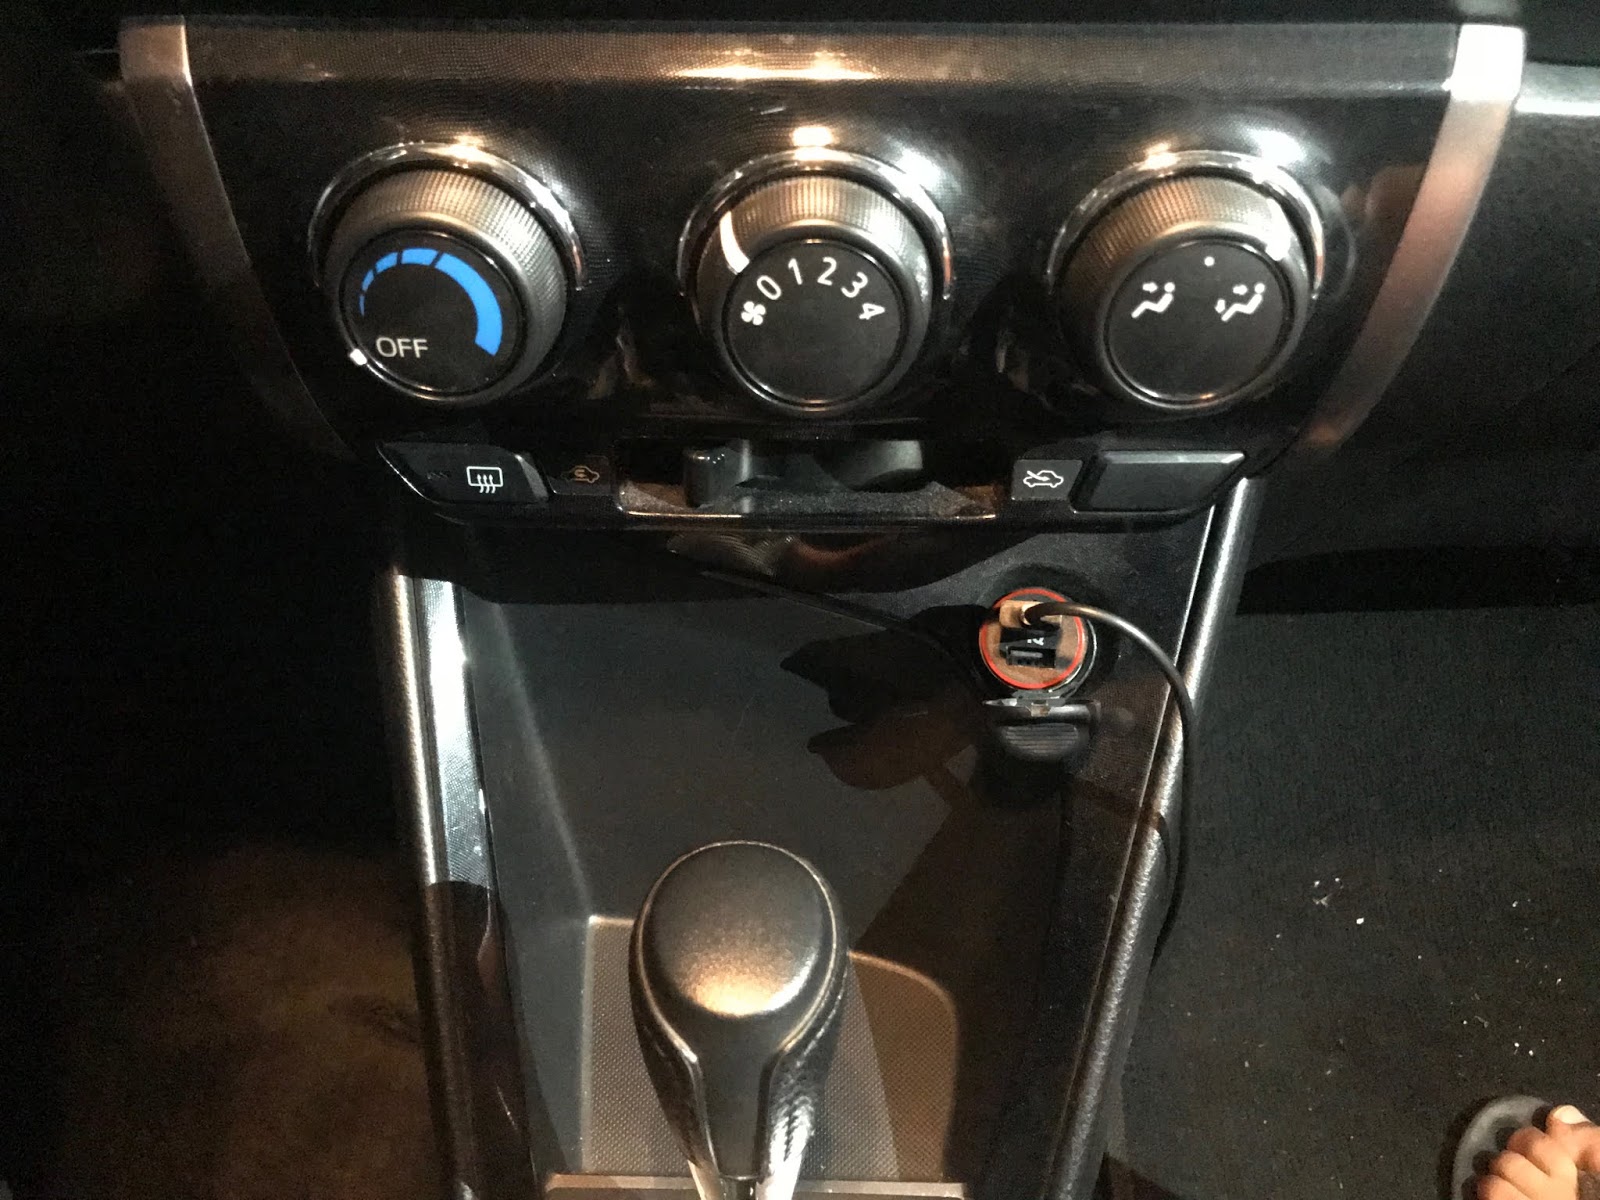
Then it's just a matter of reaching the charging port and powering it on.
Aaaand success! Since the dashcam is plugged in the power outlet, the gadget will start when the key is in the ACC or ON position.
Sample footage
Here's a sample footage during the day.
Screenshot along the way
And here's a sample footage during the night
Here's a screenshot at night at a very dark place with just my headlights on (low beam). If you look closely, you'll see an ominous figure somewhere. CHAROT.
FinallyThis is a really good buy for me. It's affordable, reliable, and somehow I can't get enough of watching our footage! I'm bored like that. I highly recommend this product!
A couple of cons:
- Mic isn't that clear
- Dashcam gets in the way of the front sunshade
- Uhh that's it
The mic isn't super duper clear. But it's okay, we can hear our conversations properly naman hehe. It looks elegant too. I never looked at other dashcams because this one's too pretty. The lines are sleek and minimal. Love it.


